In the vast realm of photography, there’s something uniquely magical about capturing your own essence in a frame—a self-portrait.
It’s not just about snapping a selfie; it’s about weaving a visual narrative that reflects who you are, expressing emotions, quirks, and the beauty that makes you, well, you.
In this guide, we’re diving into the world of self-portrait photography—a craft that goes beyond mere snapshots and transforms them into true masterpieces.
Whether you’re a seasoned photographer or just getting acquainted with the art, we’ll explore the techniques, tips, and creative nuances that will empower you to create stunning self-portraits that tell your story in a language only images can convey.
So, grab your camera, open your heart to the adventure, and let’s embark on a quest to unveil the artistry within you. It’s time to turn those moments of self-reflection into captivating visual tales that resonate with authenticity and passion. Are you ready to capture the essence of “you” in every click? Let’s get started!
Contents
- 1 Choosing the Right Lighting for Your Self-Portrait
- 2 Posing Tips for a Professional Self-Portrait
- 3 Different Camera Settings for Capturing Your Self-Portrait
- 4 Editing Your Self-Portrait for a Professional Look
- 5 Working with Props and Backgrounds for Your Self-Portraits
- 6 Conclusion:
- 7 FAQs
- 7.1 Do I need expensive equipment to create a self-portrait masterpiece?
- 7.2 How do I find the right location for a self-portrait shoot?
- 7.3 What’s the best time of day for self-portrait photography?
- 7.4 Any tips for overcoming self-consciousness in front of the camera?
- 7.5 Should I use a tripod or ask someone else to take the photo?
- 7.6 How can I add a personal touch to my self-portraits?
Choosing the Right Lighting for Your Self-Portrait
Choosing the right lighting for your self-portrait is essential to creating a flattering and realistic image of yourself. Here are some tips to help you choose the best lighting for your self-portrait photography:
1. Consider the time of day: The time of day can have a big impact on the quality of light. For example, early morning or late afternoon light is often softer and more flattering than midday light.
2. Consider the weather: Sunny days will produce harsher shadows than cloudy days. If you’re shooting outdoors, cloudy days may be better for avoiding harsh shadows.
3. Consider your background: If you’re shooting indoors, take into account the color of your walls and how they will reflect light. White walls will reflect light more than dark walls.
4. Use a reflector: A reflector can help to fill in shadows and add light to your self-portrait. You can buy reflectors specifically for photography, or you can use a white piece of paper or fabric.
5. Use a flash: If you’re shooting indoors or in low light, a flash can help to add light to your self-portrait. Just be careful not to use too much flash, as it can create unflattering shadows.
6. Experiment with different lighting setups: Take some time to experiment with different lighting setups until you find one that flatters you and makes you feel comfortable.
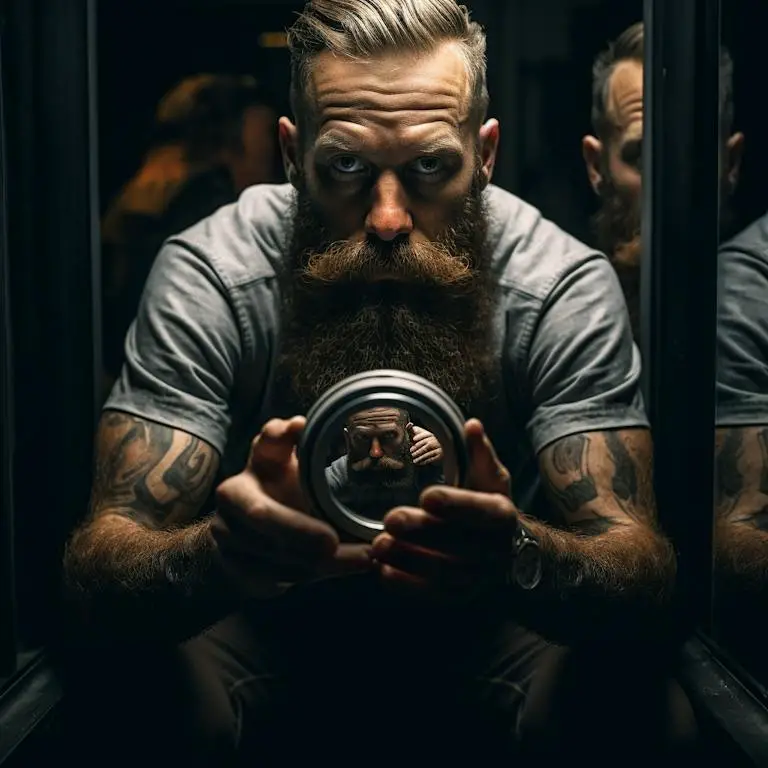
Posing Tips for a Professional Self-Portrait
Most people think that they can take a great selfie just by pointing and shooting, but there’s actually a lot of skill involved in taking a flattering and professional self-portrait. Here are some posing tips to help you make the most of your self-portraits:
1. Find the right angle: Experiment with different angles to find the most flattering one for your features. For example, if you have a double chin, you’ll want to avoid taking your photo from below.
2. Know your best side: We all have a side that we prefer to be photographed from. Make sure you know which side your best side is and pose accordingly.
3. Use props: Props can help to add interest to your photo and can be used to hide any imperfections you may be self-conscious about. For example, if you don’t like your arms, you could hold a book or a scarf in front of you.
4. Get the lighting right: Lighting is extremely important in photography and can make all the difference between a good photo and a great one. If you’re outdoors, make sure the sun is behind you so you’re not squinting into the camera. Indoors, try to find a well-lit spot near a window.
5. Use the timer function: The timer function on your camera or phone will allow you to take a photo of yourself without having to press the button. This means you can avoid any camera shake and get a clear photo.
6. Invest in a tripod: A tripod will allow you to take photos of yourself hands-free. This is great if you want to take photos in unusual places or with interesting backgrounds.
7. Practice makes perfect: Don’t be discouraged if your first few attempts at taking a self-portrait aren’t perfect. It takes practice to get it right, so keep at it and you’ll soon be a pro!
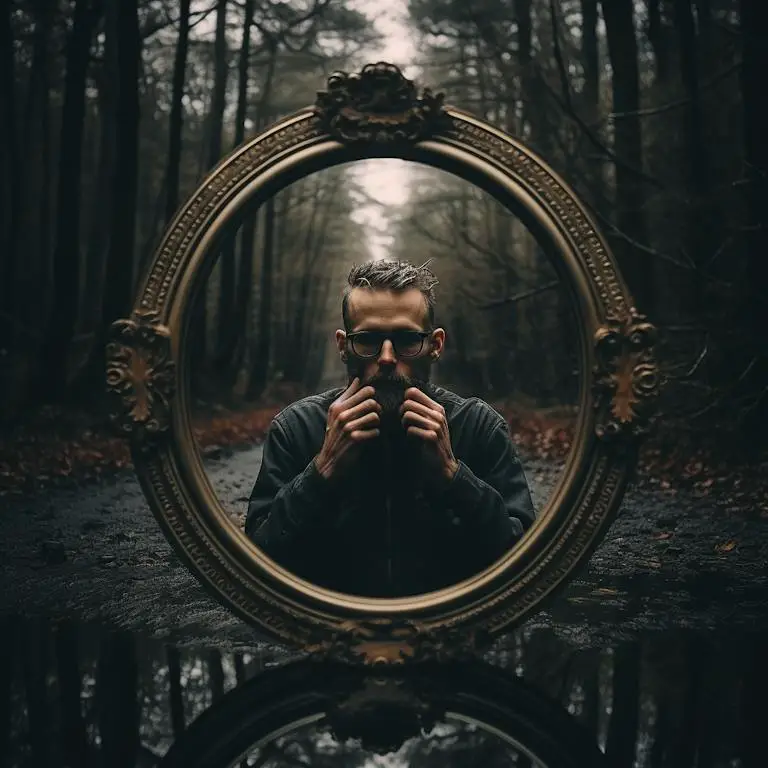
Different Camera Settings for Capturing Your Self-Portrait
Self-portraits are a great way to capture your unique personality and show the world who you are. But with so many different camera settings, it can be tough to know which ones to use to get the best results. Here are a few tips to help you get started:
1. Use a tripod
If you’re using a DSLR or mirrorless camera, a tripod is a must for getting sharp, blur-free photos. It’ll also help keep your camera steady if you’re using a long shutter speed or low light.
2. Set your camera to self-timer mode
This will give you time to get into position and compose your shot before the shutter goes off. And if you’re using a remote shutter release, it’ll prevent any shake from pressing the button.
3. Use a wide-angle lens
A wide-angle lens will help you fit everything into the frame, especially if you’re shooting in a small space. Just be careful not to get too close to the lens, or you’ll end up with distorted features.
4. Choose a shallow depth of field
A shallow depth of field (also called a low f-stop) will make your background blur out, which can be really flattering. It’s also a good way to reduce distractions in your environment.
5. Experiment with different shutter speeds
If you want to capture some movement in your photo, like flowing hair or water, a longer shutter speed will do the trick. But be sure to use a tripod so your image doesn’t turn out blurry.
6. Play with different apertures
A wider aperture (aka a lower f-stop) will let in more light, which can be great for low-light situations. But it will also create a shallow depth of field, so keep that in mind when composing your shot.
7. Use natural light
If possible, shoot in natural light for the most flattering results. But if you’re stuck indoors, try to position yourself near a window for the best light.
8. Edit your photos
Once you’ve taken your photos, don’t forget to edit them! Even just a few basic adjustments can make a big difference in the final result.
With these tips in mind, you’re ready to start taking some amazing self-portraits! So get out there and experiment with different camera settings until you find the perfect combination for your unique style.
Editing Your Self-Portrait for a Professional Look
Are you interested in photography and want to learn how to edit your photos for a professional look? There are many different ways to edit photos, and the type of editing you’ll need to do will depend on the type of photo you’re taking. If you’re taking a self-portrait, there are a few things you can do to make sure your photo looks its best.
In general, when you’re editing any type of photo, you’ll want to start by adjusting the exposure. This will help you to get the right amount of light in the photo and avoid any over or underexposed areas.
Once you’ve adjusted the exposure, you can move on to adjusting the white balance. This will help to ensure that the colors in your photo look natural and accurate.
If you’re taking a close-up photo of your face, you may also want to do some retouching to perfect your skin. This can be a delicate process, so it’s important to be careful not to overdo it. A little bit of retouching can go a long way, but too much can make your photo look unnatural.
Once you’ve made all of the basic adjustments to your photo, you can start to get creative with your editing. This is where you can really add your own personal style to your photo. Try experimenting with different filters and effects to see what looks best. Have fun with it and see what you can come up with!
Working with Props and Backgrounds for Your Self-Portraits
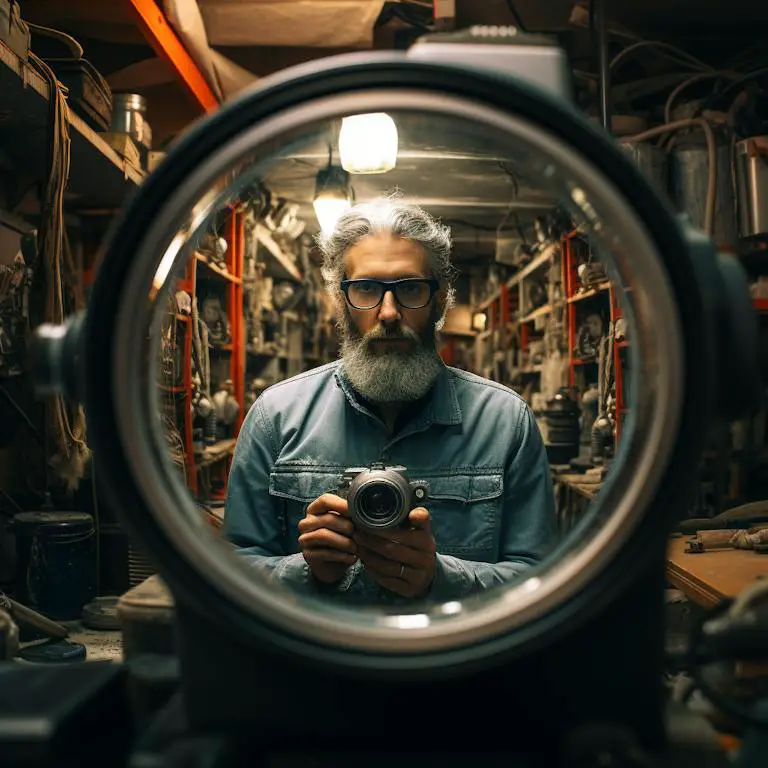
If you want to add props or change your background for your self-portraits, there are a few things you should keep in mind! First, consider what kind of feeling or mood you want to convey with your images. Do you want something fun and carefree? Something romantic? Something dark and brooding?
Once you have an idea of the feeling you want to create, start gathering props that will help you achieve that. For example, if you want to create a fun and carefree feeling, you might use brightly colored props and patterns.
If you want something romantic, consider using flowers or other soft, delicate items. If you want something dark and brooding, consider using items that are dark in color or have an eerie quality to them.
Once you have your props, it’s time to start thinking about your background. The background can really help set the tone for your image, so choose wisely! If you want something fun and carefree, a bright and colorful background might be perfect.
If you’re going for something romantic, a soft and dreamy background could be perfect. If you’re going for something dark and brooding, a dark and stormy background might be just what you need.
Remember, the key to great self-portraits is to have fun and experiment! So don’t be afraid to try out different props and backgrounds until you find the perfect combination for your vision.
Conclusion:
In conclusion, self-portrait photography is not about getting the perfect shot. It’s about capturing who you are, in the moment. It’s about finding the beauty in the everyday. And it’s about expressing yourself through your art.
I hope this article has given you some valuable insights into how to create a self-portrait photography masterpiece. Remember, there are no rules when it comes to self-portraiture. It’s all about capturing who you are, in the moment. So go out there and experiment. Find the beauty in the everyday. And most importantly, express yourself through your art.
Above all, enjoy the process of creating your self-portrait. Let yourself experiment and play. The more fun you have, the more likely you are to create a truly unique and stunning image.
FAQs
Do I need expensive equipment to create a self-portrait masterpiece?
Not necessarily! While professional cameras can offer advanced features, you can achieve remarkable results with a smartphone or an entry-level camera. The key lies in understanding light, composition, and your unique perspective.
How do I find the right location for a self-portrait shoot?
Choose locations that resonate with your personality or the story you want to tell. It could be your favorite spot in nature, a cozy corner of your home, or even an urban setting. The goal is to complement your narrative.
What’s the best time of day for self-portrait photography?
The golden hours—shortly after sunrise or before sunset—are ideal for achieving soft, flattering light. Experimenting with different times allows you to play with shadows and highlights, adding depth and dimension to your portraits.
Any tips for overcoming self-consciousness in front of the camera?
Start by taking casual shots to get comfortable. Experiment with different poses and expressions. Remember, it’s about capturing your authenticity, imperfections and all. The more you embrace your uniqueness, the more compelling your portraits become.
Should I use a tripod or ask someone else to take the photo?
Both options work! A tripod provides independence and control over your composition. If you prefer a more spontaneous feel or want to include others in your shots, collaborating with a friend or family member can add a dynamic touch to your self-portraits.
How can I add a personal touch to my self-portraits?
Incorporate elements that define you—a hobby, a favorite accessory, or even a beloved pet. Your self-portraits are a canvas for self-expression, so let your personality shine through.


